Ever stared at your avatar and thought, “My virtual wardrobe needs a real-world upgrade”? Whether you’re crafting a clean streetwear tee for your avatar or building shirts to sell in a Roblox group, the right roblox shirt template is the fast track from idea to standout look. As a menswear-focused style writer, I’ll walk you through design tips, outfit pairings, and practical upload steps so your avatar’s outfit feels as intentional as your Sunday best.
Why the Roblox shirt template matters for the way you dress your avatar
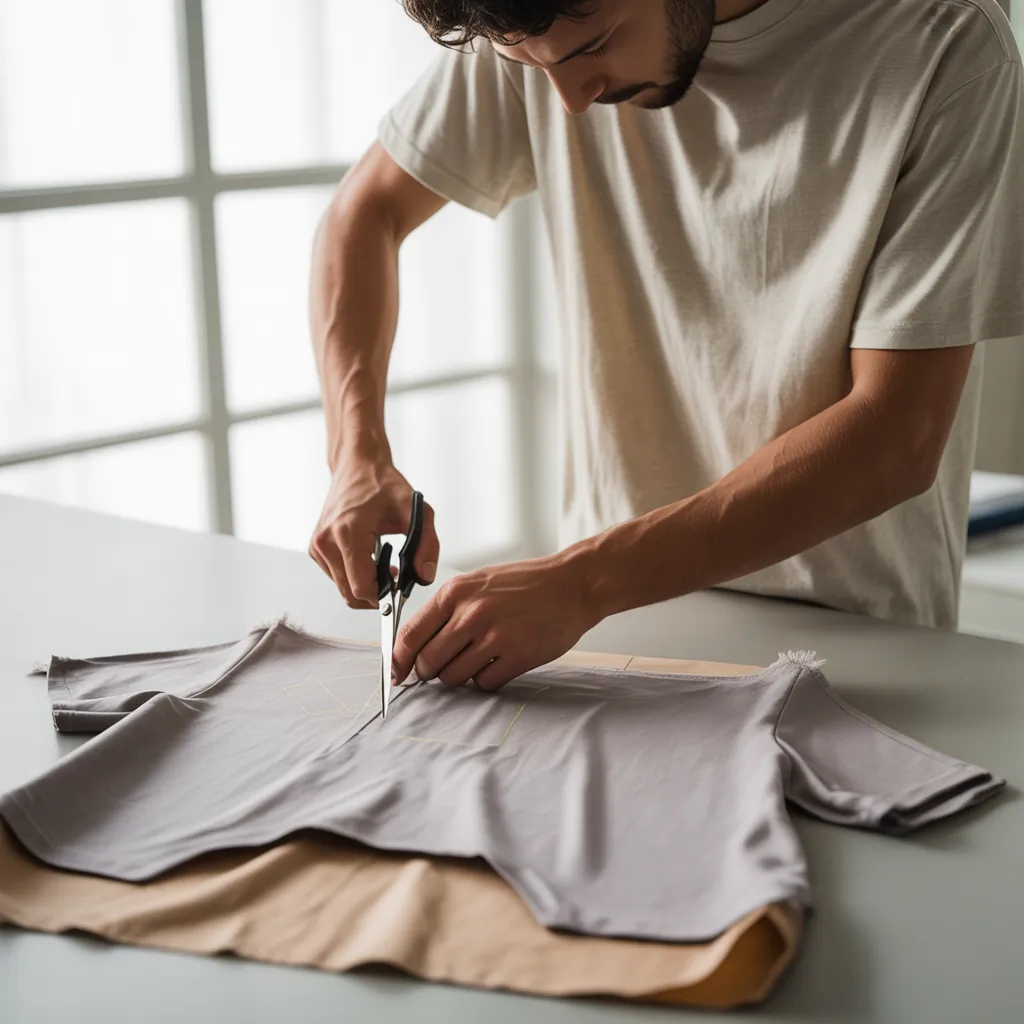
Designing great virtual clothing starts with a good template. The template maps where the front, back, sleeves, and edges of a shirt sit on the avatar — think of it like a pattern for a tailored shirt. Use it right and your logo, stripes, or pocket detail lands exactly where you want it; ignore it and you get mismatched seams or floating graphics. This is the difference between a polished avatar outfit and something that looks slapped together.
Getting started: Tools and the right file
Which file to use and where to edit
Grab the official shirt template from Roblox’s Creator resources, then open it in Photoshop, GIMP, or the free web editor Photopea. Work in layers: background color, design elements, and guide overlays. Save final designs as PNG with transparency so colors stay crisp when uploaded.
Design basics — safe zones and seams
Pay attention to the safe zones on the template. Keep important artwork (logos, text, faces) inside the center/front region to avoid being cut off by seams. For patterns, repeat with care so the arms line up with the body. If you plan a chest pocket or badge, place it slightly left of center for a natural, menswear look.
Design tips from a men’s fashion perspective
Your avatar shirt can echo real-world menswear vibes. Here are styling principles that work in both worlds:
- Minimalism wins: Clean graphics and muted palettes (olive, navy, charcoal) feel sophisticated. A small embroidered logo on the chest reads as premium.
- Balance contrast: Pair a bold stripe or chest panel with otherwise neutral sleeves to avoid visual overload.
- Texture matters: Simulate fabrics—heather, slub, or worn denim effects—by adding subtle noise or grain layers. It makes digital clothing feel tactile.
- Scale your prints: Oversized graphics dominate smaller avatar bodies; scale down logos and patterns for a refined look.
Outfit combinations: Styling your avatar like a real man
Think in outfits, not single pieces. Here are three curated combinations that use custom shirts to define style:
1. Urban cool — Streetwear tee + tapered joggers
Design: A bold chest stripe with a monochrome palette. Pair with dark joggers, a beanie, and high-top sneakers. Add a small logo on the sleeve for authenticity.
2. Smart casual — Minimal tee + light jacket
Design: Neutral base color with a subtle chest pocket graphic. Layer a cropped denim or bomber jacket over it. Match the shirt’s accent color to the jacket lining for cohesion.
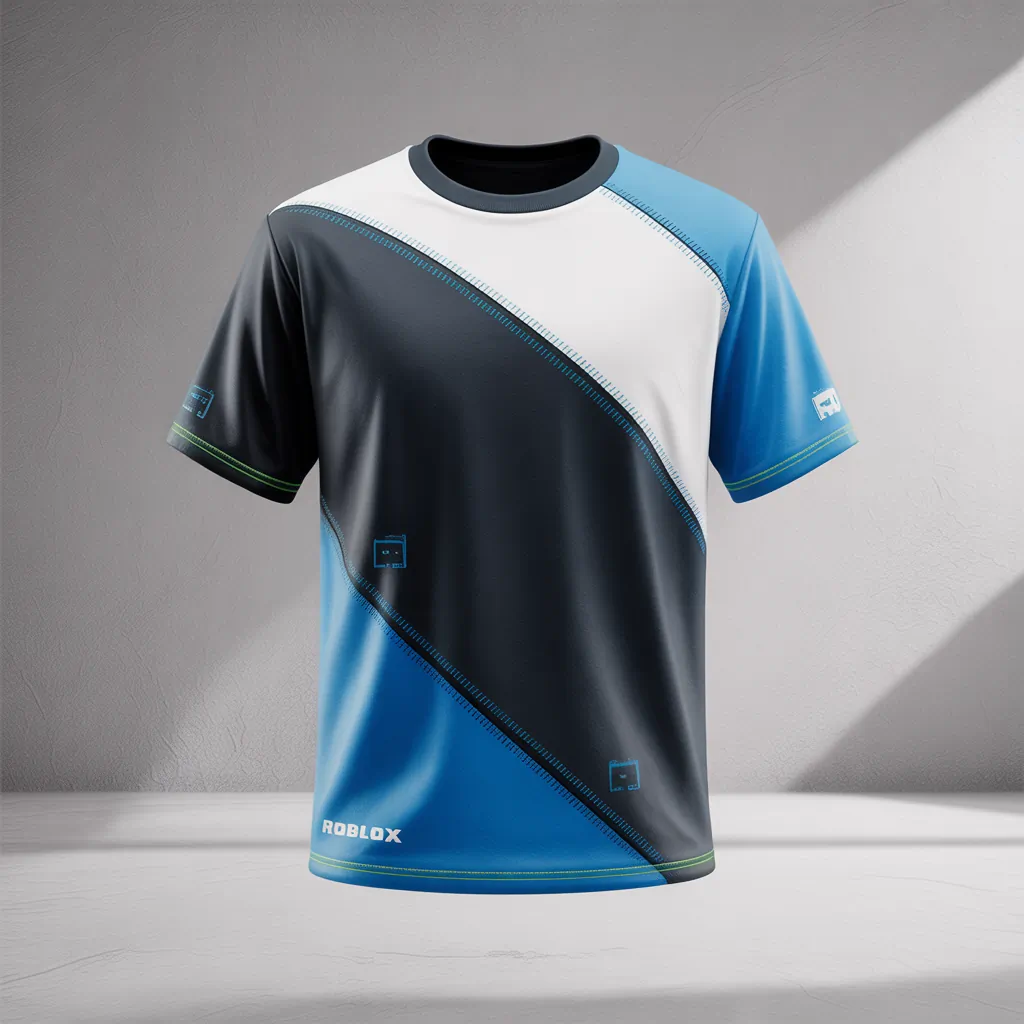
3. Sporty vibe — Athletic tee + track pants
Design: Contrasting raglan sleeves, breathable mesh texture simulation, and a number/initial on the back. Finish with sneakers and a sporty watch for the full look.
Practical upload tips (without the fluff)
Once your design is ready:
- Export as PNG with transparency and keep file size reasonable.
- Go to the Roblox Creator or Develop page and upload under the Shirts section.
- Preview the shirt on an avatar before publishing — check alignment and seams across different body types.
- If selling, price it fairly and use good product photos generated by the avatar preview.
Styling advice for consistent avatar wardrobes
Keep your avatar’s aesthetic consistent across shirts to build a recognisable style—like a signature fit in real life. Use repeating motifs (color accents, logo placement, or fabric texture) across multiple shirt templates. This helps fans or friends identify your brand and makes mixing-and-matching predictable and pleasing.
roblox shirt template — common pitfalls and how to avoid them
Using the template incorrectly is the top mistake. Avoid these problems:
- Mismatched arms: Always check sleeve seams in the avatar preview.
- Text too close to edges: Keep lettering well inside safe zones to prevent clipping.
- Too busy: Limit focal points—one chest graphic plus a subtle back element is enough.
Frequently Asked Questions
1. What is the best software to edit a Roblox shirt template?
Use what you’re comfortable with: Photoshop for precision, GIMP as a powerful free alternative, or Photopea for browser-based editing. The key is working with layers and exporting a PNG with transparency.
2. Can I sell shirts made from the Roblox shirt template?
Yes — after uploading your shirt in the Create section, you can set a price or offer it for free. Make sure your designs follow Roblox community standards and copyright rules.
3. How do I make my virtual shirts look like real fabrics?
Simulate fabric by adding subtle grain, shadowing, and stitch lines. Use low-opacity noise layers and soft shadows at seams to mimic depth. Keep textures subtle; too much detail can read as noisy on small avatar models.
Ready to design your signature avatar tee?
Whether you’re creating one custom shirt for your avatar or building a whole collection, the roblox shirt template is your blueprint. Start simple: choose a palette, place a small logo, and preview early. If you want step-by-step help, check out my design workflow in the style guide or learn how to upload properly in this quick tutorial.
Take action now — download the template, sketch a concept, and upload your first shirt. Your avatar (and followers) will notice the difference.
Read the Virtual Style Guide |
How to Upload Roblox Clothing |
Shop Custom Roblox Shirts