Introduction
Curtain bangs have made a massive comeback, and it’s easy to see why. They’re soft, stylish, and effortlessly frame your face with a romantic, lived-in flair. The best part? You don’t need to visit a salon to get them.
With some patience, a steady hand, and the right tools, you can easily cut curtain bangs at home and elevate your look instantly. Whether you’re embarking on a new hair adventure or giving an old favorite a refresh, this guide will walk you through every step to cutting curtain bangs like a seasoned professional.
One of the best things about curtain bangs is their ability to suit nearly every face shape and hair texture. Whether you have wavy locks, poker-straight strands, or even curls, curtain bangs can be adapted to enhance your natural look.
Here’s a clear and easy-to-follow table on how to cut curtain bangs step-by-step:
| Step | Instructions | Tips & Tricks |
|---|---|---|
| 1. Prep Hair | Start with clean, dry, and straight hair. Use a flat iron if needed. | Cutting dry hair helps you see the final length more accurately. |
| 2. Section Hair | Use a fine-tooth comb to create a triangle section at the front of your head. The base should be at your part, and the point at the center of your forehead. | The wider the triangle, the thicker the bangs. |
| 3. Decide Length | Choose where you want the shortest part of the bangs to hit (usually around the bridge of your nose or cheekbones). | Start longer than you think—you can always cut more later. |
| 4. Part the Section | Split the triangle section into two equal parts (left and right) for that signature “curtain” look. | Clip the rest of your hair back to avoid cutting it by mistake. |
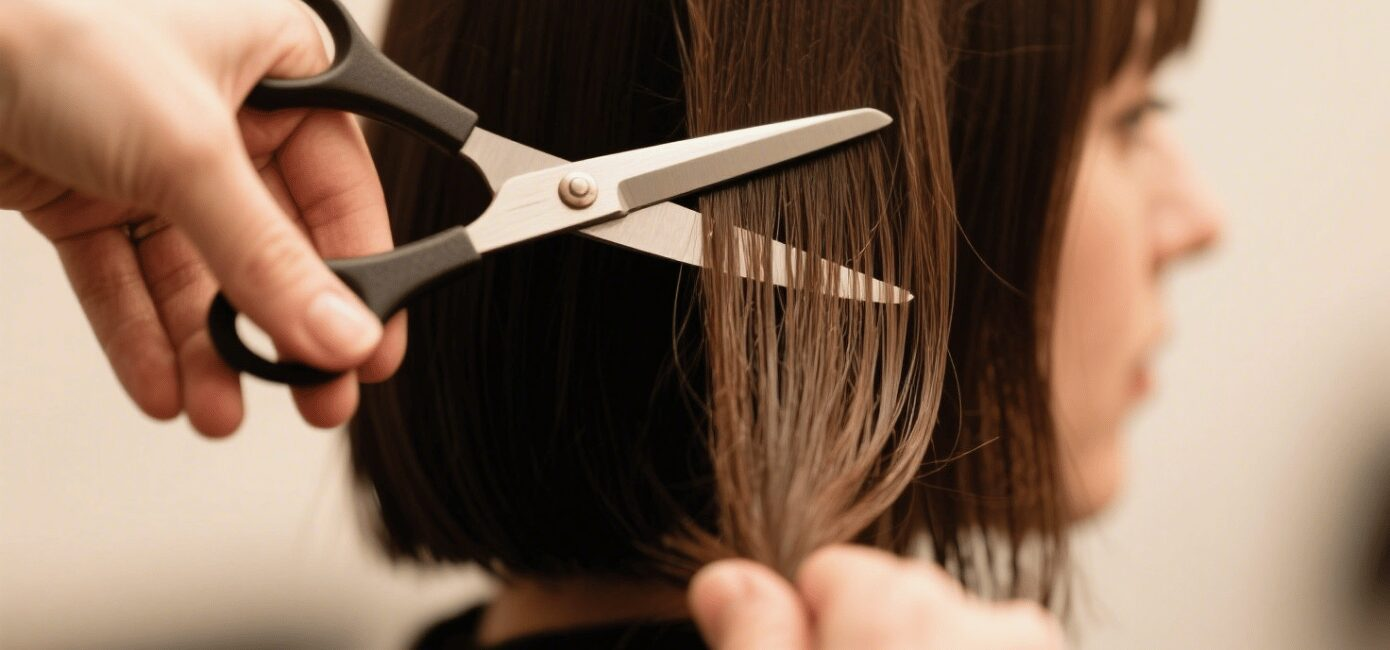
| 5. Angle & Cut | Take one half, hold it diagonally across your face, and cut downward at an angle. Repeat on the other side to mirror the shape. | Use hair-cutting shears for precision and control. |
| 6. Blend the Ends | Point-cut the tips of the bangs to soften and blend them into your layers. | Use light snips to avoid a blunt, choppy look. |
| 7. Style | Blow-dry using a round brush, sweeping each side away from the face for volume and shape. | Use a lightweight mousse or texturizing spray for hold. |
| 8. Final Touch-Up | Check for symmetry and trim tiny bits if needed. Don’t overdo it! | Less is more—refine gradually. |
What Are Curtain Bangs?
Curtain bangs are a versatile type of fringe that parts down the middle, resembling, well, curtains. They softly sweep across your forehead and frame your face in a way that accentuates your cheekbones and eyes. These bangs typically start shorter in the center and gradually lengthen as they extend toward your jawline, creating a gentle, flattering cascade of hair.
They’re also incredibly low-maintenance compared to blunt bangs. Because they’re longer and more forgiving, they grow out gracefully and don’t need as frequent trims. Plus, they can be styled in various ways from boho waves to polished updos—adding depth and personality to your overall hairstyle.
How to Cut Curtain Bangs?
Cutting curtain bangs at home can be a fun and stylish DIY project if done with care. Start by sectioning off a triangle-shaped portion of hair at the front of your head—this is where your bangs will come from. Make sure the triangle starts at the center of your forehead and ends at the outer edges of your eyebrows.
Lightly dampen your hair so it’s easier to work with, but remember that wet hair shrinks as it dries, so cut longer than your desired length. Part the section down the middle and work on one side at a time. Hold the hair at an angle, twist it slightly, and use sharp hair-cutting scissors to make a soft, vertical (point) cut toward your cheekbone.
Repeat on the other side, always checking for symmetry. Start with a longer length and trim little by little—less is more! Once you’re done, blow dry the bangs with a round brush, curling them away from your face for that signature swoop. With patience and the right tools, you can achieve salon-worthy curtain bangs from the comfort of your home.
Tools You’ll Need
Before you start snipping, gather all the necessary tools. Cutting hair is precision work, and using the right equipment makes all the difference:
- Sharp hair-cutting scissors: Avoid regular household scissors; they can cause split ends and uneven cuts.
- Fine-tooth comb: For detangling and creating clean lines.
- Hair clips or ties: To section your hair and keep the rest out of the way.
- Spray bottle with water: To lightly dampen hair for better control.
- Two mirrors: A wall-mounted one and a handheld one can help check angles and symmetry.
- Blow dryer and round brush: Essential for styling and revealing the final shape of your bangs.
Step-by-Step Instructions
Start with Dry or Slightly Damp Hair
It’s best to cut your hair when it’s dry or only slightly damp. Wet hair shrinks as it dries, so if you cut too much when it’s wet, you may end up with bangs that are shorter than intended. If your hair tends to be frizzy, lightly mist it to make it more manageable.
Section Your Hair Correctly
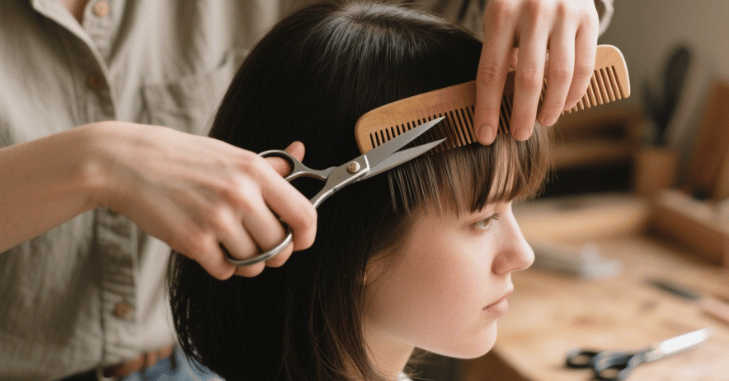
Use the tip of your comb to create a triangular section from the top center of your forehead to the outer edges of each eyebrow or your temples, depending on how thick you want your bangs. Clip the rest of your hair back securely. This section should form a neat triangle; clean sectioning ensures even results.
Choose Your Ideal Length
Look in the mirror and decide where you want the shortest part of your curtain bangs to fall. A good starting point is around the bridge of your nose or just below the eyebrows. Remember, it’s always better to start long and trim more later. Use your fingers to pinch the hair at that point and imagine how the bangs will fall naturally.
Cut the Center First
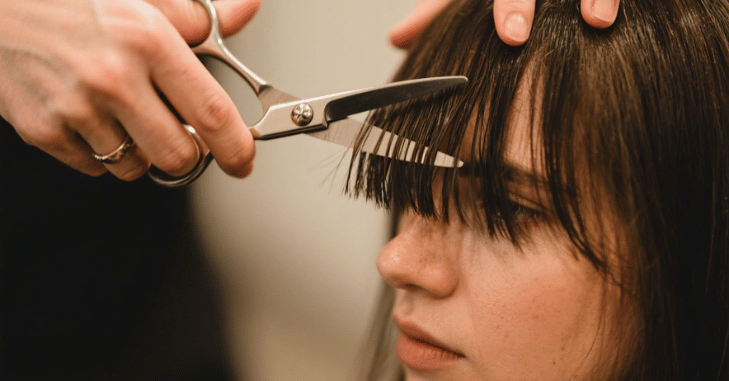
Pull the triangle-sectioned hair forward and hold it with your index and middle fingers. Start by trimming the center portion to your chosen shortest length. This will act as your guide. Make small snips using a point-cutting technique (snipping vertically into the ends) to keep the look soft and textured rather than blunt.
Shape the Sides into Curtains
Now, divide the section into two halves. Take small diagonal sections starting from the center and angle your scissors downward as you cut toward the longer outer edge. Repeat on the other side. The motion should mimic drawing a soft slope outward from the center to each temple. This feathered gradient is key to the signature curtain effect.
Check for Symmetry
Let the hair fall naturally and use both mirrors to inspect the balance. Are both sides even? Do they swoop away from your face symmetrically? Trim any inconsistencies carefully and slowly, using the same downward angle.
Blend with the Rest of Your Hair
To ensure a seamless transition between your bangs and the rest of your haircut, take small outer sections of your bangs and blend them into your longer layers. Point-cut any harsh lines until it looks effortless.
Blow-Dry and Style
Use a round brush and blow dryer to curl your curtain bangs away from your face. This sets the shape and gives that voluminous, salon-like finish. Add a bit of lightweight styling cream or texturizing spray if needed.
Extra Tips for a Perfect Cut

- Less is more: Always cut less hair than you think is necessary. You can always take more off later, but you can’t glue it back on.
- Point-cutting is your friend: This technique gives a feathered finish instead of a blunt chop.
- Don’t rush: Set aside enough time and make sure you’re in a well-lit space with plenty of visibility.
- Try a practice run: If you’re nervous, try styling faux curtain bangs using a center part and pinning your hair to simulate the look before you commit.
- Use good lighting: Natural daylight is ideal to help you see the details of your hair texture and length clearly.
Conclusion
Cutting your own curtain bangs at home can be a satisfying, confidence-boosting experience. With the right mindset and a careful, deliberate approach, you’ll end up with a chic and flattering hairstyle that feels fresh and new. It’s a budget-friendly way to revamp your look and add salon magic to your everyday routine. Remember: patience is key, as is the art of starting long and working your way shorter. Grab those scissors, channel your inner hairstylist, and enjoy your new bangs!
Apart from that, if you are interested to know about “Best Haircut for Round Face: Balance to Enhance Natural Beauty with Perfect Layers, Bangs, and Texture” then visit our “Fashion” category.
FAQs
About every 4–6 weeks to keep the shape. You can snip a little every couple of weeks at home if you’re confident.
Use a round brush and blow dryer to curl the bangs away from your face. You can also use a flat iron for a subtle bend.
Curtain bangs are super versatile and flattering on almost all face shapes—especially oval, square, and heart-shaped faces.
Slightly damp hair is easiest to work with. But remember, hair shrinks as it dries—so don’t cut too short while wet.
Create a triangle section from the center of your forehead down to the outer edges of your eyebrows. That’s your curtain bang section.