Ever stood in front of your closet, frustrated because every tee feels the same, and wished you could turn a basic into something with personality? If you’ve been searching for a simple, stylish way to refresh your summer wardrobe, DIY shirt cutouts might be the hack you didn’t know you needed. Whether you’re aiming for subtle shoulder slashes or a bold chest window, these shirt modification techniques give your tees an edge—without breaking the bank.
Why DIY Shirt Cutouts Work for Men’s Fashion
Men’s fashion has embraced playful, experimental details, and cutout shirts are a low-commitment way to stay on-trend. Cutouts create visual interest, improve ventilation for hot-weather days, and let you layer creatively. Best of all, customizing shirts at home transforms inexpensive tees into statement pieces that reflect your personal style.
Who should try this?
- Guys with a casual, streetwear, or edgy aesthetic.
- Anyone wanting to upcycle thrift finds or basic tees.
- Men who like subtle details—think shoulder slits—or bolder, fashion-forward looks.
How to Make DIY Shirt Cutouts: Step-by-Step
This basic method works for t-shirts, long-sleeves, and even lightweight button-downs. Gather a few scissors, a marker, and a ruler, and you’re set.
Materials
- Old or inexpensive cotton tee
- Sharp fabric scissors
- Chalk or fabric marker
- Ruler or measuring tape
- Optional: sandpaper for a distressed edge, sewing kit if you want reinforcement
Step-by-step
- Lay the shirt flat on a hard surface, smoothing wrinkles.
- Decide your cutout placement: back, shoulders, chest, or hemline. Mark the outline with chalk.
- Measure symmetrically—use a ruler to match left and right if needed.
- Cut slowly along your lines. Start small—you can always make the hole bigger.
- Optional: Gently pull the cut edges to encourage fraying for a lived-in look, or use sandpaper around the opening.
- If you prefer a clean finish, fold the edges under and stitch, or add a bias tape for reinforcement.
Placement Ideas and Style Tips
Where you place the cutout determines the vibe. Here are tried-and-true placements for men and how to style them.
Shoulder Slits
Subtle and sporty—shoulder slits give your tee a fresh profile without being too loud. Pair with tapered joggers and low-top sneakers for a modern athletic look.
Chest Window
A small horizontal cut just above the sternum is fashion-forward and works well layered over a contrasting tank or mesh top. Wear with slim denim and a leather jacket for nights out.
Back Cutout
Great for hot days. Keep it simple: run a vertical or diamond-shaped opening down the center back. Wear with cargo shorts and slides for easy summer style.
Hemline Slits
Side or front hem slits lengthen the silhouette and look great under layered shirts. Try them with a longline tee underneath a bomber or denim jacket.
Outfit Combinations That Work
Here are a few outfit ideas to make your DIY shirts look intentional and polished.
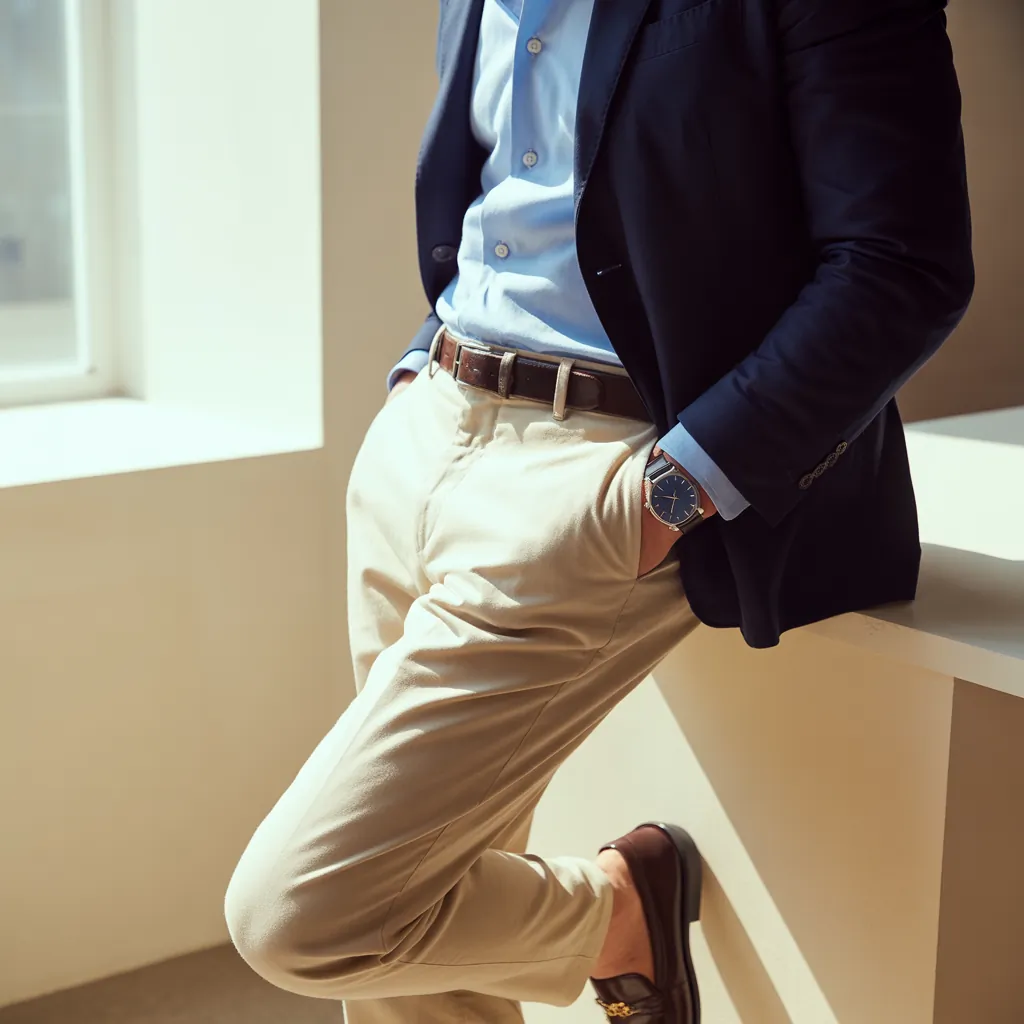
- Daytime casual: Shoulder-slit tee + chinos + white sneakers + minimalist watch.
- Streetwear twist: Chest-window tee over a contrast tank + cargo pants + high-top sneakers + baseball cap.
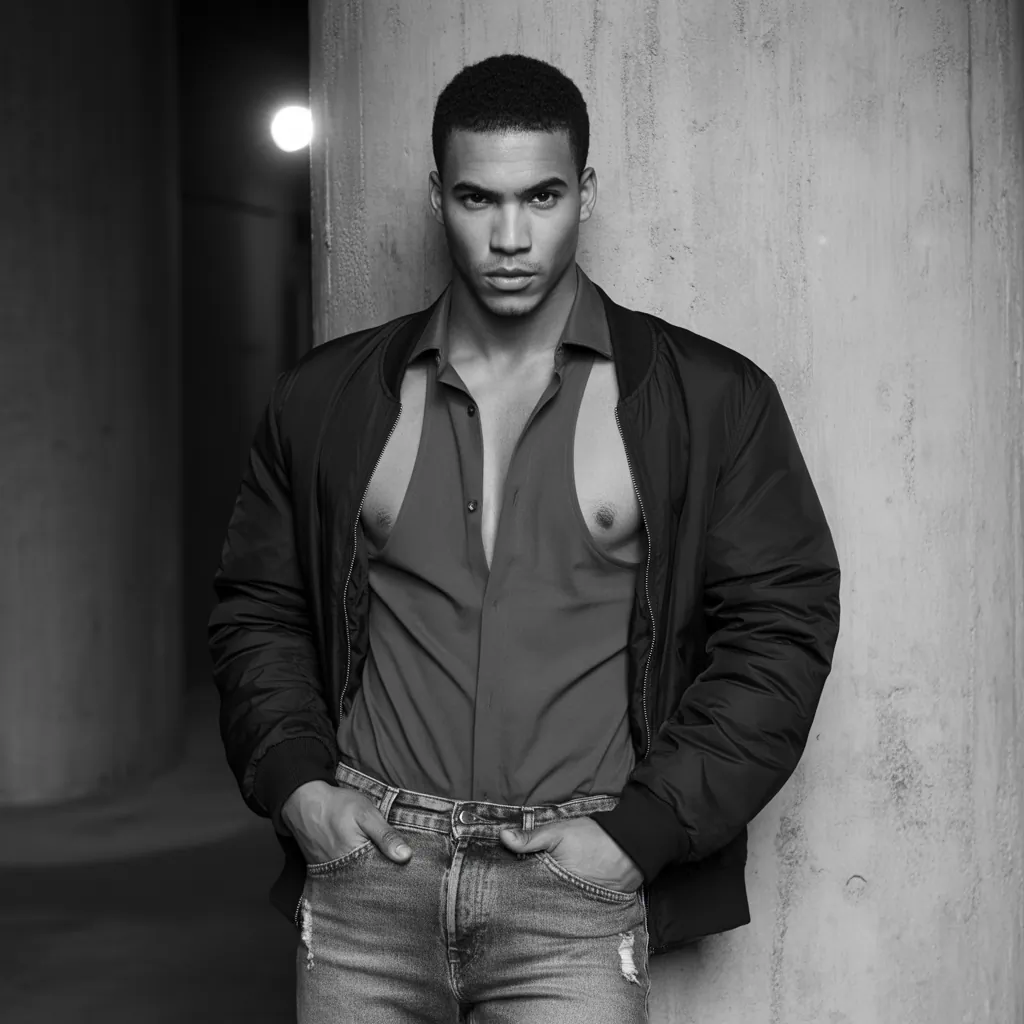
- Night out: Black cutout tee + slim leather jacket + dark denim + Chelsea boots.
- Summer-ready: Back-cutout breathable tee + linen shorts + espadrilles or slides.
Finishing Touches: Fabric, Fit, and Care
Choosing the right fabric and fit will make or break your DIY project. Lightweight cotton, blends, or breathable jersey work best for cutouts because they fray pleasantly and hold shape. Heavier fabrics can look bulky. For fit, slightly oversized or regular fits are more forgiving—tight tees can create awkward gaps.
Care tips:
- Wash on a gentle cycle to prevent excessive fraying.
- Air dry to retain shape.
- Use a small zig-zag stitch if you want the cutout to last through many wears.
Styling Advice That Reads Like a Pro
When wearing a customized piece, confidence is the main accessory. Keep the rest of your outfit relatively clean and purposeful so the cutouts feel like a deliberate style choice, not an accident.
- Balance: If your tee is heavily modified, keep pants simple (solid colors, clean silhouettes).
- Layer smart: Use undershirts or long-sleeve layers to create color contrast through the cutout.
- Accessorize minimally: A chain or watch is often enough to complete the look without competing with the shirt.
Common Mistakes to Avoid
- Cutting too much too fast—start small.
- Using cheap scissors that leave jagged edges—invest in a decent pair.
- Ignoring symmetry—measure and mark both sides.
- Choosing fabric that unravels excessively—test a scrap first.
Frequently Asked Questions
1. How hard is it to make DIY shirt cutouts for beginners?
Not hard at all. Basic cutouts are beginner-friendly—simple straight cuts or small shapes. Start with minimal openings and practice on thrifted tees before altering favorites.
2. Will cutouts ruin my shirt fast?
It depends on fabric and technique. Reinforcing edges with a light stitch or not cutting too close to seams helps longevity. Washing gently and air-drying also prolongs life.
3. What tools and fabrics are best for a clean look?
Use sharp fabric scissors or an X-acto knife for precise cuts, and choose mid-weight cotton or jersey for predictable fraying. If you want a clean finished edge, a sewing machine with a zig-zag stitch works well.
Wrap-Up and Next Steps
DIY shirt cutouts are an accessible way to personalize your wardrobe, experiment with trends, and get more mileage out of basic tees. Start small, think about placement and fit, and layer intentionally to make your modifications look like a curated part of your style. Want more ideas on how to build outfits around customized pieces? Check out our pieces on men’s style basics, streetwear looks, and wardrobe essentials for inspiration.
Ready to transform a tee? Grab an old shirt, some scissors, and try one small cutout tonight—then tag your look and keep experimenting. Want a curated list of cutout templates and placement diagrams? Drop a comment or subscribe for downloadable guides and step-by-step videos.
if you want to know about Trendy Corduroy Shirt Outfit then please visit our Menswear Category.