Ever stood in front of the mirror, scissors in hand, and wondered if you could pull off that effortless, lived-in shag you keep seeing on style feeds? Whether your barber’s booked for weeks or you just want the freedom to tweak your look at home, this DIY shag haircut tutorial gives you the confidence to create a textured, modern hairstyle that works with your lifestyle.
Why the Shag Works for Men
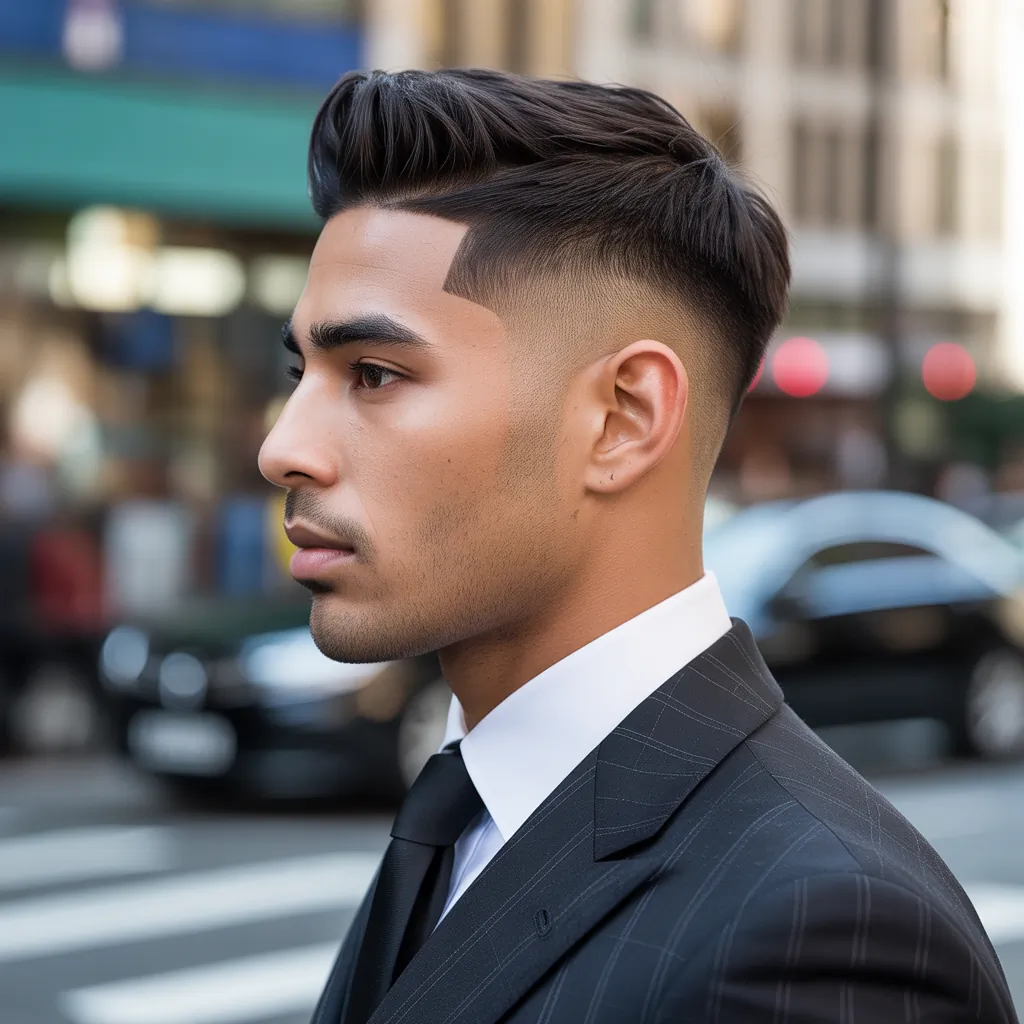
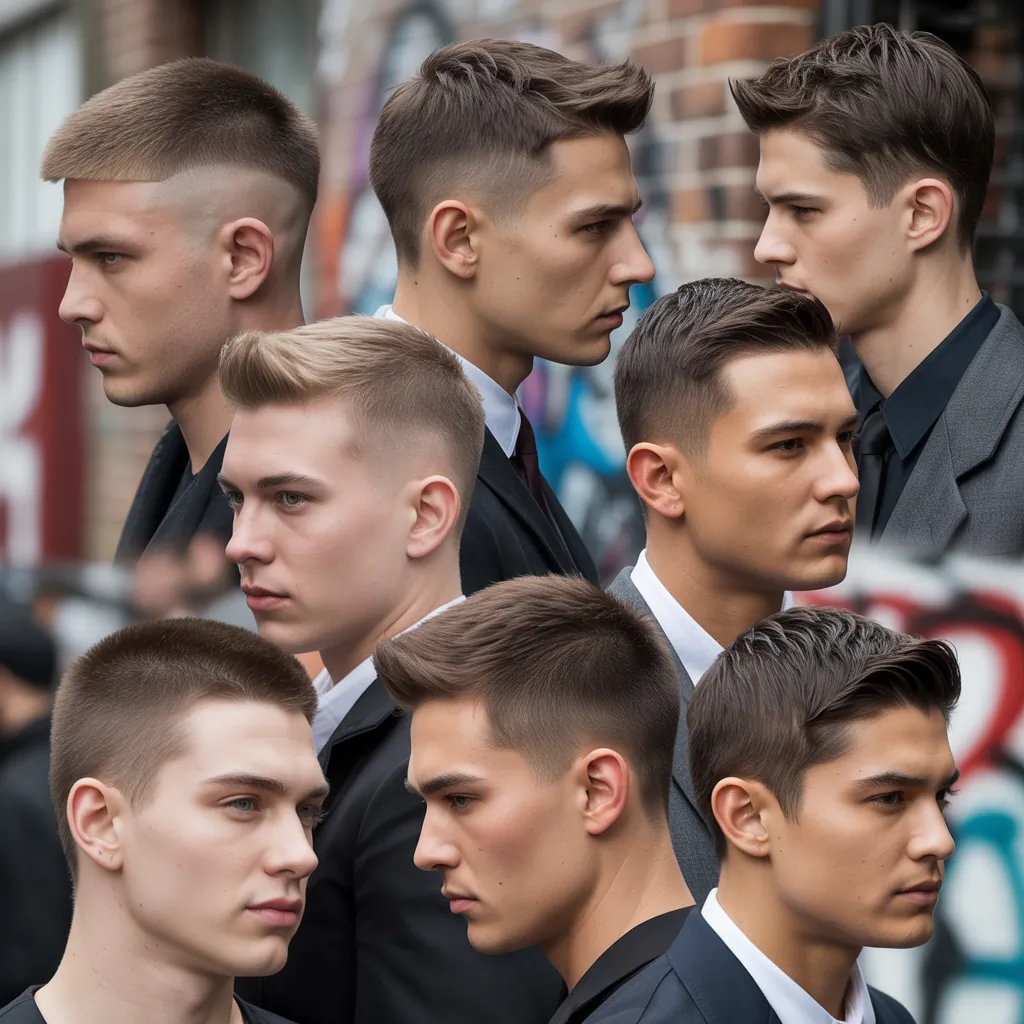
The shag is one of those rare haircuts that reads both casual and stylish. With choppy layers, natural movement, and a slightly messy finish, it’s perfect for men who want low-maintenance but high-style. The textured layers add volume to thin hair, enhance waves, and bring structure to thick hair — which is why the shag has become a go-to for contemporary men’s grooming and street-style looks.
Tools You’ll Need for a Safe DIY Shag Haircut
- Professional hair-cutting scissors (avoid kitchen or craft scissors)
- Thinning shears or a razor comb (for texture)
- Fine-tooth comb and wide-tooth comb
- Sectioning clips
- Mirror and handheld mirror for back view
- Spray bottle with water
- Lightweight styling products (sea salt spray, matte paste, or cream)
DIY Shag Haircut Tutorial: Step-by-Step
1. Prep and Mindset
Start with clean, damp hair. Cut a little at a time — you can always take more off, but you can’t glue hair back. Keep expectations realistic: this tutorial will give you a great at-home texture tune-up. For major restyles, consider a professional consultation.
2. Section Your Hair
Divide hair into three sections: top, crown, and sides/back. Use sectioning clips to keep things tidy. The shag is built on layering, so accurate sections make a smoother result.
3. Establish the Guideline
Work with the top section first to set the length. For a classic shag, leave about 1–3 inches of movement depending on the look you want (short shag vs. medium shag). Use vertical cutting lines and point-cut (snipping into the ends) to avoid blunt edges.
4. Create Textured Layers
Take horizontal slices and elevate the hair to about 45–60 degrees. Cut small vertical snips to create choppy layers. The goal is uneven, natural-looking edges. If your hair is thick, use thinning shears sparingly at the mid-lengths to avoid a bulky result.
5. Frame the Face and Add Fringe
Decide whether you want a fringe (bangs) or swept front layers. For a messy fringe, take a small vertical slice in the center, point-cut at a slight angle, and blend into the sides. Remember: a shag fringe should be soft, not blunt.
6. Texture with a Razor or Thinning Shears
Use a razor comb or thinning shears on the ends and around the crown to add movement. Lightly work through the perimeter to break up straight lines — this is the key to that lived-in shag look.
7. Check Symmetry and Finish
Use a handheld mirror to check the back. Make tiny adjustments rather than big cuts. Dry your hair and apply a small amount of product: sea salt spray for texture, a matte paste for hold, or a light cream for smoother finishes. Style with fingers to keep it natural.
Adapting the Shag to Different Hair Types
Straight Hair
Add layers and a light texturizing spray. Keep the top layers longer to create movement without looking too choppy.
Wavy Hair
Waves are ideal for shag cuts. Emphasize natural pattern with longer layers and use a sea salt spray to amplify texture.
Curly or Coarse Hair
Use careful thinning and longer top layers to avoid excess width. A professional consultation helps when dealing with tight curls.
Styling Tips & Outfit Combinations
The shag isn’t just a haircut — it’s a style statement. Pair it with outfits that match its relaxed but intentional vibe.
- Casual weekend: Worn-in denim jacket, white tee, slim-fit jeans, and low-top sneakers. The shag keeps the look effortless.
- Smart-casual: Tailored blazer, knit turtleneck, tapered chinos, and Chelsea boots. Keep the hair slightly tamed with a matte cream to bridge casual and refined.
- Streetwear: Oversized hoodie, tapered joggers, and chunky sneakers. Amp up texture with matte paste and a messy fringe.
Real-World Advice: When to DIY and When to Book a Pro
Do a DIY shag for minor trims, texture refreshes, or experimenting with subtle layer changes. Avoid attempting radical length changes, complex fades, or major corrections — those are best handled by a skilled barber or stylist. If you’re uncertain, bring photos to a pro and ask for a slow, incremental approach.
Maintenance and Product Recommendations
- Trim every 6–8 weeks to maintain shape.
- Use sulfate-free shampoo to keep texture from drying out.
- Sea salt spray for beachy texture; matte paste for control; light cream for a softer finish.
- Sleep on a silk pillowcase to reduce friction and keep layers defined.
DIY Shag Haircut Tutorial: Final Thoughts
The shag is a versatile, stylish haircut that suits many men — and with the right tools and a patient approach, a DIY shag haircut can be a smart at-home project. Remember to cut conservatively, focus on texture, and style to match your wardrobe and lifestyle. If you enjoyed this step-by-step guide, try it out and see how a textured shag transforms your daily look.
Frequently Asked Questions
Can I cut a shag haircut at home if I’ve never cut hair before?
Yes, you can, but start small. Follow the step-by-step approach above, use proper scissors, and only trim a little at a time. For your first attempt, focus on texturizing and softening ends rather than drastic length changes.
What products work best for styling a men’s shag haircut?
Sea salt spray, matte paste, and lightweight creams are great. Sea salt spray boosts waves and texture, matte paste gives structure without shine, and cream smooths the look for a cleaner finish. Choose based on your hair type and desired hold.
How often should I trim a shag to keep it looking fresh?
Plan for a trim every 6–8 weeks to maintain the shape and prevent the layers from becoming too heavy. Between trims, use thinning shears lightly if you need to remove bulk.
Conclusion — Ready to Try Your Own DIY Shag Haircut Tutorial?
If you’re craving an easy, modern update, this DIY shag haircut tutorial is a great place to start. Take it slow, use the right tools, and match your new cut with outfits that reflect the relaxed, stylish energy of the shag. Want more men’s grooming guides and outfit inspiration? Check out our posts on Best Men’s Haircuts and Men’s Style Guide for complete looks and product picks. Try it, snap a before-and-after, and share your results — you might be surprised how much a textured haircut can level up your style.